In summary:
- Growing Mediterranean plants in cool climates like Northern England is less about fighting the weather and more about smart permaculture design.
- Harnessing thermal mass from walls and dark mulches creates ‘heat batteries’ that protect plants overnight.
- Understanding and redirecting cold air flow is more effective than just blocking wind.
- Every garden, no matter how small, has multiple microclimates; the key is learning to identify and enhance them.
The thought of harvesting your own lemons in Yorkshire or picking olives in the Scottish Borders might seem like a gardener’s fantasy. For many enthusiastic gardeners, the ambition to cultivate sun-loving Mediterranean plants is often dashed by the reality of a cool, damp northern climate. The conventional wisdom is to either give up or resign oneself to a life of wrapping plants in fleece and hoping for a mild winter. This approach is exhausting and often ends in disappointment.
But what if the solution wasn’t about fighting the climate, but about becoming a climate designer? What if, instead of seeing your garden as a single, homogenous weather zone, you saw it as a mosaic of opportunities? This is the core of a permaculture approach. It’s about understanding the invisible flows of energy—sun, heat, wind, and water—that already exist on your plot and subtly redirecting them to your advantage. It’s about working with physics, not against it.
This guide moves beyond generic advice. We won’t just tell you to ‘plant in a sunny spot’. Instead, we will explore the science behind creating pockets of warmth and shelter. We will delve into how a simple brick wall acts as a giant heat battery, why the choice of gravel matters, and how to build a structure that contains five different climates in just two square metres. By the end, you’ll be equipped to read your garden’s unique energy map and start creating the Mediterranean oasis you’ve always dreamed of.
To navigate this journey from a standard English garden to a series of productive micro-oases, this article breaks down the essential design strategies. The following sections will guide you through the core principles of creating and managing microclimates.
Summary: How to Create Microclimate Zones for Mediterranean Plants in Northern England?
- Why South-Facing Brick Walls Boost Temperature by 5°C at Night?
- How to Position Windbreaks Without Creating Damaging Turbulence?
- Slate or Gravel: Which Mulch Retains More Heat for Exotics?
- The Topography Error That Creates Frost Pockets in Your Garden
- Mapping Your Garden: How to Identify the ‘Warm Spot’ for Early Planting
- Why Biochar Lasts 100 Years in Soil Compared to Compost?
- White Walls or Mirrors: Increasing Solar Exposure in Dark Corners
- Building an Aromatic Culinary Herb Spiral: 5 Microclimates in 2 Square Metres
Why South-Facing Brick Walls Boost Temperature by 5°C at Night?
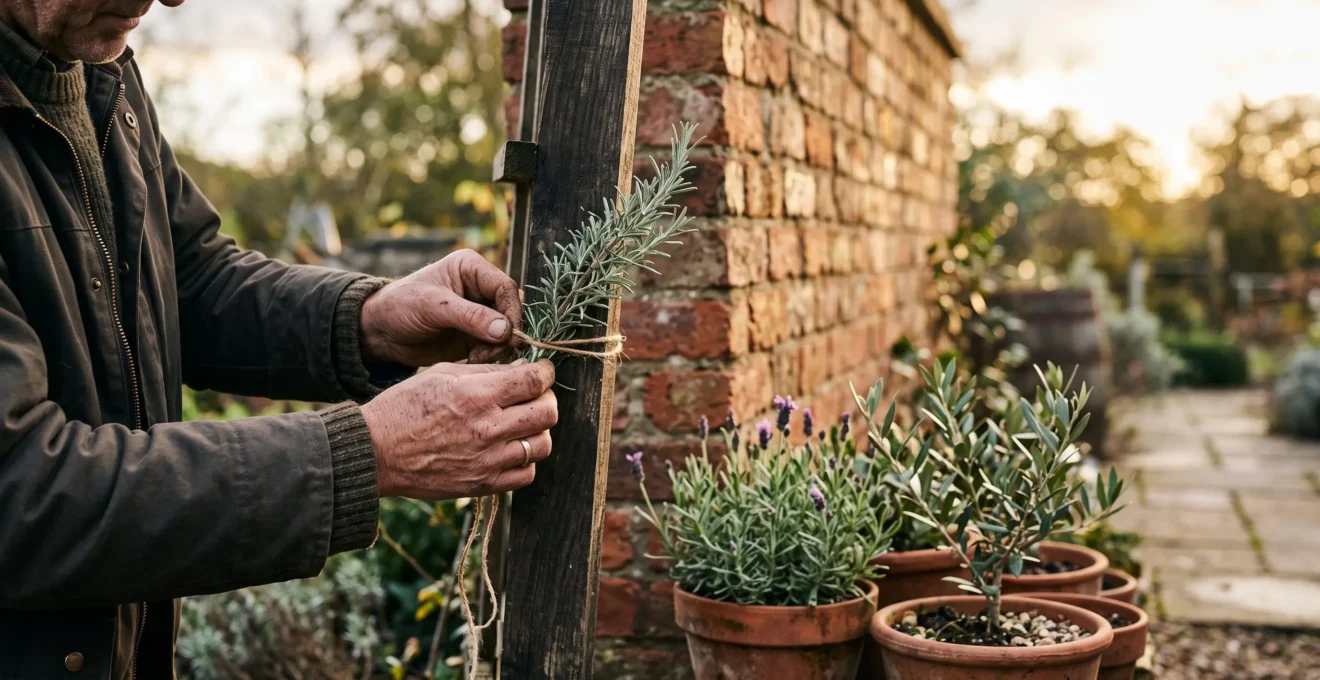
The most common piece of advice for growing exotics in the UK is to use a south-facing wall, but the reason it works is a simple and powerful lesson in physics: thermal mass. Think of a brick or stone wall not as a static object, but as a slow-charging ‘heat battery’. Throughout the day, the dense material absorbs huge amounts of solar energy. As evening falls and the ambient air temperature plummets, the wall begins to radiate this stored heat back out, creating a bubble of warmth.
This effect is not trivial. Research confirms that the right wall can create a microclimate with a significant advantage. As UK garden design research confirms, brick and stone can create a microclimate up to 5°C warmer at night than open ground. This can be the difference between life and death for a tender olive tree or lemon plant during a sudden spring frost. The heat released protects the plant’s delicate tissues and keeps the soil at its base warmer, shielding the roots.
A controlled winter experiment highlighted this process, showing that even by 8:00 pm, a sun-facing brick wall was still 1.3°C warmer than a shaded one. The real magic of thermal mass lies in a material’s ‘specific heat capacity’. For instance, water is an even better heat battery than brick, requiring almost five times more energy to raise its temperature. This explains why placing black-painted containers of water against a wall can further amplify this heat-storing effect. By understanding and utilising thermal mass, you are transforming a simple garden wall into a dynamic climate-moderating system.
How to Position Windbreaks Without Creating Damaging Turbulence?
While harnessing the sun is crucial, managing wind is the second half of the microclimate equation. The biting winds common in Northern England can desiccate plants, stunt growth, and drastically lower the effective temperature, a phenomenon known as wind chill. The intuitive response is to build a solid wall or fence, but this is often a critical mistake. A solid barrier doesn’t stop the wind; it just forces it up and over, creating zones of intense, damaging turbulence on the leeward (sheltered) side as the air tumbles back down to fill the vacuum.
The goal is not to stop the wind but to slow it down and filter it. The most effective windbreaks are around 50% permeable, a principle well-understood in permaculture design. Hedges with a slightly open structure, slatted fences, or even strategically placed trellis with climbers are far superior to solid walls. These structures allow a portion of the air to pass through, which breaks up the force of the wind and gently slows it down, creating a calm pocket of stiller air over a much larger area without the destructive eddies.
Positioning is everything. An effective windbreak can offer protection for a distance of up to ten times its height. So, a two-metre-high permeable hedge will create a significant zone of calm for 20 metres behind it. Observe the prevailing wind direction in your garden—often from the south-west in the UK—and position your windbreak to intercept it before it hits your precious planting area. By choosing filtration over obstruction, you turn a destructive force into a gentle sigh, creating a tranquil environment where tender plants can thrive.
Slate or Gravel: Which Mulch Retains More Heat for Exotics?
Once you’ve managed the large-scale elements of sun and wind, the next layer of design is at ground level. Mulching is essential for weed suppression and moisture retention, but in a microclimate designed for Mediterranean plants, its primary role can be as a ‘ground-level radiator’. However, not all mulches are created equal. Using a standard wood chip or bark mulch around an olive tree is a missed opportunity, as these organic mulches are light in colour and insulate the soil, preventing it from warming up quickly.
This is where the choice of mineral mulch becomes a critical design decision. The key factors are colour, density, and shape. Dark-coloured materials absorb more solar radiation than light-coloured ones. Therefore, dark grey or black slate chippings will get significantly hotter in the sun than pale-coloured gravel or Cotswold stone.
This visual contrast highlights the difference in heat-retaining properties between different mineral mulches.
Furthermore, the flat, interlocking nature of slate provides a larger surface area for sun absorption and creates fewer air gaps, allowing it to conduct heat more effectively into the soil below. Rounded pea gravel creates many insulating air pockets and has less surface contact. By evening, a bed of dark slate will have stored far more heat, which it then radiates upwards throughout the night, warming the base of the plant and protecting its root crown. For a Mediterranean planting, a dark mineral mulch is not just a decorative topping; it’s an active component of your microclimate heating system.
The Topography Error That Creates Frost Pockets in Your Garden
You can have the perfect south-facing wall and the best heat-retaining mulch, but if your prized plant is sitting in a frost pocket, it’s doomed. This is one of the most common and heartbreaking errors in a northern garden. Frost pockets are created by a simple, inescapable law of physics: cold air is denser and heavier than warm air. On a clear, still night, it flows like water across the landscape, seeking the lowest point where it pools into an invisible, deadly lake of freezing air.
This is where a gentle, almost imperceptible slope in your garden can become a major hazard. The lowest point of your garden is the natural collection point. The problem is massively amplified if this downward flow of cold air is blocked by a solid barrier like a dense hedge, a wall, or a fence at the bottom of the slope. The barrier acts as a dam, causing the cold air to back up and deepen, creating a much more severe and prolonged frost event. This is why a plant at the bottom of a slope can be destroyed by frost while another, just a few metres higher up, remains untouched.
This image perfectly captures the stillness of a dawn frost, where cold air has pooled in the lowest part of the garden, creating a visible frost pocket.
The solution lies in permaculture’s principle of “observe and interact.” You must learn to read your garden’s topography and ensure good ‘air drainage’. If you identify a potential frost pocket, the key is to create an outlet for the cold air to escape. Sometimes, simply creating a two-foot gap at the base of the offending hedge or fence is enough to allow the cold air to drain away, saving the plants behind it. Avoiding this simple topography error is fundamental to successful cold-climate gardening.
Action Plan: Identifying and Mitigating Frost Pockets
- Observe the Flow: Understand that on sloping ground, cold air naturally flows downwards, collecting at the lowest point or against a barrier.
- Inspect Your Boundaries: Check if a solid fence or dense hedge at a low point is acting as a dam. Consider creating a gap or removing lower growth to improve cold air drainage.
- Plant with Foresight: Deliberately choose planting positions to avoid known frost pockets. Use the most sheltered, elevated spots for your most tender plants.
- Check New Plantings: After a frost, check any newly planted specimens. Frost heave can lift them out of the soil, exposing their roots to cold and air. Gently re-firm them back into the ground.
- Choose Hardy Varieties: When in doubt, consult resources like the RHS Plant Selector to choose plants that are naturally more resilient to your local conditions.
Mapping Your Garden: How to Identify the ‘Warm Spot’ for Early Planting
After learning the principles of thermal mass, wind shelter, and air drainage, it’s time to become a detective in your own garden. Every garden, no matter its size, is not one single climate but a collection of microclimates. The key to unlocking its full potential is to create a mental or physical map of these warm and cool zones. This allows you to place the right plant in the right place, giving it the best possible chance of success.
Start by observing. Which part of the garden gets the first morning sun and holds it the longest? Where does the snow or frost melt first? This is your prime real estate, your ‘Zone 1’ for the most tender and prized plants. Your most valuable tools for this task are your hands and a simple outdoor thermometer.
Follow a systematic process to build your climate map:
- Identify Thermal Mass: Locate all south or west-facing walls, fences, patios, and even large rocks. These are your garden’s heat batteries.
- The Touch Test: On a cool morning after a sunny day, physically touch these surfaces. Any wall or paving slab that still feels warm to the touch has been successfully releasing stored heat all night, creating a warmer microclimate for any plant near its base.
- Locate Frost Pockets: Conversely, identify the lowest points and areas where cold air might be dammed by barriers. On a frosty morning, make a note of where the frost appears first and lingers the longest. These are your ‘no-go’ zones for tender plants.
- Use Simple Tech: For more precision, as suggested by guides on finding microclimate warm spots, place an inexpensive outdoor thermometer in different locations for a day at a time. A temperature difference of even 2-3°C between two spots is hugely significant for a plant.
By mapping these zones, you move from guessing to strategic planning. You can confidently plant a tender herb at the base of a warm wall while reserving the cooler, shadier spots for hardier natives. This observation-led approach is the heart of successful, low-intervention gardening.
Why Biochar Lasts 100 Years in Soil Compared to Compost?
While we’ve focused on managing heat and air above ground, creating a truly resilient microclimate involves building a superior foundation in the soil itself. This is where biochar, a form of charcoal made for agricultural use, offers a revolutionary advantage over traditional compost. Compost is fantastic for providing short-term nutrients and improving soil life, but it decomposes relatively quickly, often within a year or two. Biochar, on the other hand, is about long-term structural change and stability.
The incredible durability of biochar comes from its chemical structure. It is produced by heating organic matter (like wood) in a low-oxygen environment, a process called pyrolysis. This transforms the easily-decomposed carbon into a highly stable, crystalline form that is incredibly resistant to microbial breakdown. While the title suggests a 100-year lifespan, studies show it’s often far longer. Peer-reviewed analysis has estimated the mean residence time of biochar in soil can be up to 891 years. Indeed, the Norwegian research institute NIBIO notes that biochar can lock away carbon for on average more than 1,000 years, making it a powerful tool for carbon sequestration.
But what does this mean for our Mediterranean plants? Biochar’s porous, sponge-like structure acts like a luxury hotel for beneficial soil microbes and fungi, holding onto water and nutrients and preventing them from leaching away. For Mediterranean plants that hate sitting in cold, wet soil, adding biochar improves drainage and aeration. Furthermore, its dark colour can slightly increase soil temperature. By adding a one-time application of charged biochar (biochar pre-soaked in compost tea or liquid fertiliser) to your planting hole, you are not just feeding the plant for a season; you are permanently improving the soil’s structure, water-holding capacity, and microbial life for decades to come.
White Walls or Mirrors: Increasing Solar Exposure in Dark Corners
Even in a south-facing garden, there are always awkward, shady corners that seem to get little direct light. For a sun-loving Mediterranean plant, this can be a death sentence. Before giving up on these spots, consider another tool from the physics toolkit: increasing the light exposure through reflection. The scientific principle at play is the albedo effect—the measure of how much light a surface reflects.
The simplest and most effective solution is to paint a nearby wall or fence with a brilliant white, weather-resistant paint. A dark fence absorbs light and heat, while a white surface can reflect up to 80-90% of the light that hits it. This creates a source of diffuse, ambient light that illuminates the shady spot, boosting photosynthesis and overall plant health. This is a far more gentle and effective approach than using mirrors.
While placing mirrors in a garden is a popular design trick for creating an illusion of space, it’s often a poor choice for plant health. A mirror creates a specular, or focused, reflection. On a sunny day, this can act like a magnifying glass, focusing a concentrated beam of intense light and heat onto your plant’s leaves, causing scorching and stress. A white wall, by contrast, scatters the light in all directions, raising the overall light level without the risk of burning. For increasing light in a targeted area, a simple coat of white paint is the superior, safer, and more elegant permaculture solution.
Key Takeaways
- Harness Thermal Mass: Use walls, stones, and dark mulches as ‘heat batteries’ to store daytime sun and release it at night.
- Filter, Don’t Block: Design windbreaks to be 50% permeable to slow wind gently, avoiding damaging turbulence created by solid barriers.
- Ensure Air Drainage: Identify and eliminate ‘frost pockets’ by ensuring cold air has a path to drain away from the lowest points in your garden.
Building an Aromatic Culinary Herb Spiral: 5 Microclimates in 2 Square Metres
The herb spiral is perhaps the ultimate expression of permaculture microclimate design—a perfect example of ‘stacking functions’ to create incredible productivity in a tiny footprint. This simple, spiralling raised bed, often no more than two metres in diameter, can elegantly create at least five distinct microclimates, allowing you to grow a wide range of herbs with different needs side-by-side.
This overhead view shows how the spiralling structure creates different zones of sun, shade, and moisture.
The design’s genius lies in its use of gravity and orientation. The top of the spiral is the highest and driest point. Filled with gritty, free-draining soil, this is the perfect hot, sun-baked spot for Mediterranean natives like rosemary, thyme, and oregano, which thrive on neglect. As the spiral winds downwards, the soil becomes progressively richer and more moisture-retentive. The south-facing slopes are warm and sunny, ideal for plants like basil, while the north-facing side of the spiral creates a cooler, shadier, and damper zone perfect for mint or parsley. Finally, the very bottom of the spiral, near the spout, can be a boggy area for watercress.
The stone or brick used to build the spiral also acts as thermal mass, absorbing heat and creating even more warmth for the sun-loving herbs at the top. In one compact, beautiful structure, you have replicated a range of habitats from a dry Mediterranean hillside to a damp English riverbank. It’s a living demonstration that by understanding and applying the principles of microclimate design, you can create pockets of abundance and grow what you love, no matter where you live.